

Are you about to build a website for your church and looking for some guidance?
Or have you already built your church website, things didn’t go as well as you had hoped, and you’d like to learn how to improve your website?
If so, this Ultimate Guide to Designing a Church Website is for you.
You’ve probably seen TV commercials promoting website builders that make it seem like anybody can easily build a great website in an hour or two. While some tools can make building a website faster and easier, there are a lot of important steps before and after the actual building of the website that will make or break your website.
Our team at OurChurch.com has been designing and building church websites for more than 20 years. We have developed a process that is efficient and results in church websites that:
- Look great
- Are easy to use
- Have useful functionality
- Rank well in search engines
- Keep people coming back
OurChurch.Com’s mission is to help Christian organizations live out their mission online. One way we can help your church live out its mission online is to build your church website for you. But if you prefer to do it yourself, we want to help you do that well, by sharing our church website design process with you.
- Step 1: Start with Why
- Step 2: Logo Design
- Step 3: Content Map
- Step 4: Select a Theme
- Step 5: Select & Install Plugins
- Step 6: Create & Enter Content
- Step 7: Take & Insert Photos
- Step 8: On-Page Optimization for Search (SEO)
- Step 9: Launch
- Step 10: Create an Update Plan
- Church Website Design Tips from the Pros
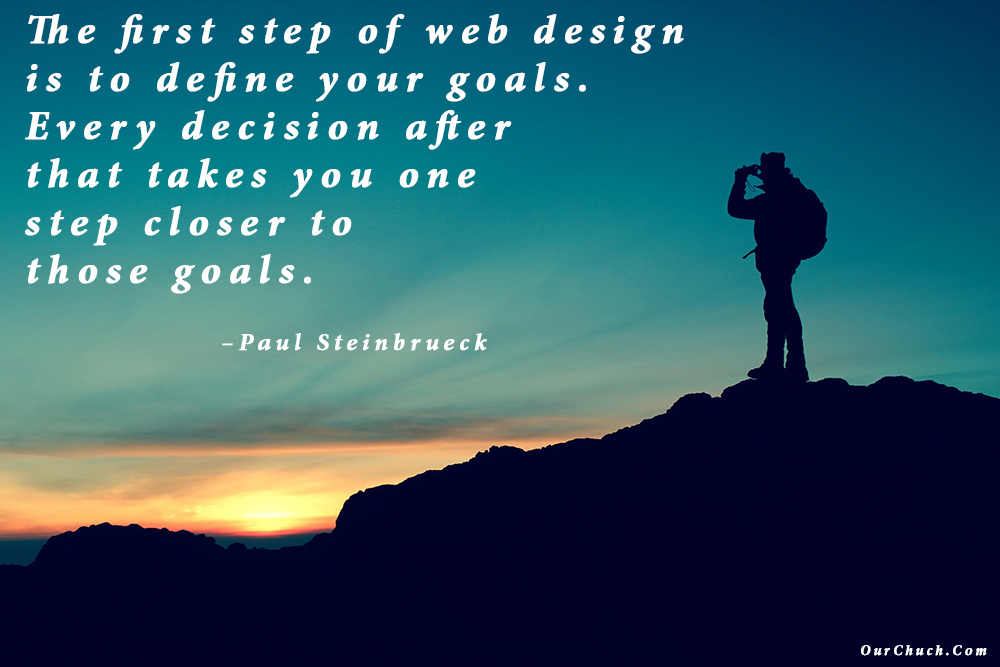
Step 1: Start with Why
We start the first phone call with every organization we work with – whether it’s a Christian church, ministry or business – by getting to know them and helping them to define the goals for their website.
It’s important to define your goals first, because your website’s appearance, organization, content and functionality should all be designed intentionally to help your church website achieve its goals.
What’s the purpose of your church website?
- To reach out to people in your community looking for a church?
- To help the people who are a part of your church to get connected and serve?
- To help people grow their relationship with God?
- To share the stories of what God is doing in your congregation with your local community?
I pose these as questions because ultimately, your church leaders need to decide and define your website goals. These are questions and possible goals to consider as you do this.
Two additional tips for setting church website goals:
1) Prioritize your goals. It’s ok to have multiple goals for your website – most do. However, it’s important to prioritize your goals, because these priorities will help guide the organization of your pages and your content.
2) Write down your website goals. You will refer back to them throughout the website design process and beyond.
The first step of designing a church website is to define your goals. Every decision after that takes you one step closer to those goals. –Paul Steinbrueck
Step 2: Logo Design
Many churches don’t have a logo or think they’ll create a logo some other time. However…
The design of your website all starts with your church logo.
The logo for your church will be used on all kinds of communication: Posters, business cards, bulletins, outdoor signage, flyers, church vans/buses, and your website. Because the logo will be used is so many places, it is important that the logo works well in promoting your brand in all forms of communication.
It is also important to have the logo created before you start your designing your church website because the logo’s colors and style will impact and inform the colors and style of your church website.
If you already have a nice logo you and your leadership team are happy with, then that logo will help determine your website design. However, if you are a new church, a church that doesn’t have a logo, or a church that is in need of a logo redesign, you should address the logo first, then address your church website design.
When creating a logo, we recommend this…
4 Step Logo Design Process:
- Get input from key decision makers but don’t try to get input from everyone in the organization. It is good to get 2-3 people’s input so you aren’t going solo in the logo design process but remember, too many cooks spoil the broth.
- Look at other logos and find a few that you like. We’re not suggesting you copy another organization’s logo, but it is helpful to look at other logos to figure out which styles you like and which you don’t like. Additionally, it can be helpful to have some logos you like that you can show to the designer so they have a point of reference.
- Speak with the designer. The internet is a great medium. It allows us to access information and communicate with people that would have been impossible without it. However, it can also make things very impersonal. We recommend against communicating with a logo designer exclusively through emails and texts. It is vital to speak with someone that you understand, who understands you when you go through the logo creation process.
- Get the logo in formats that will work in all of your communication (posters, business cards, bulletins, outdoor signage, flyers, church vans/buses, and your website). You should receive the logo in various sizes, with a transparent background, and multiple file formats (jpg, png, svg (vector file)).
Your logo design should determine your church website design. – Mark Steinbrueck
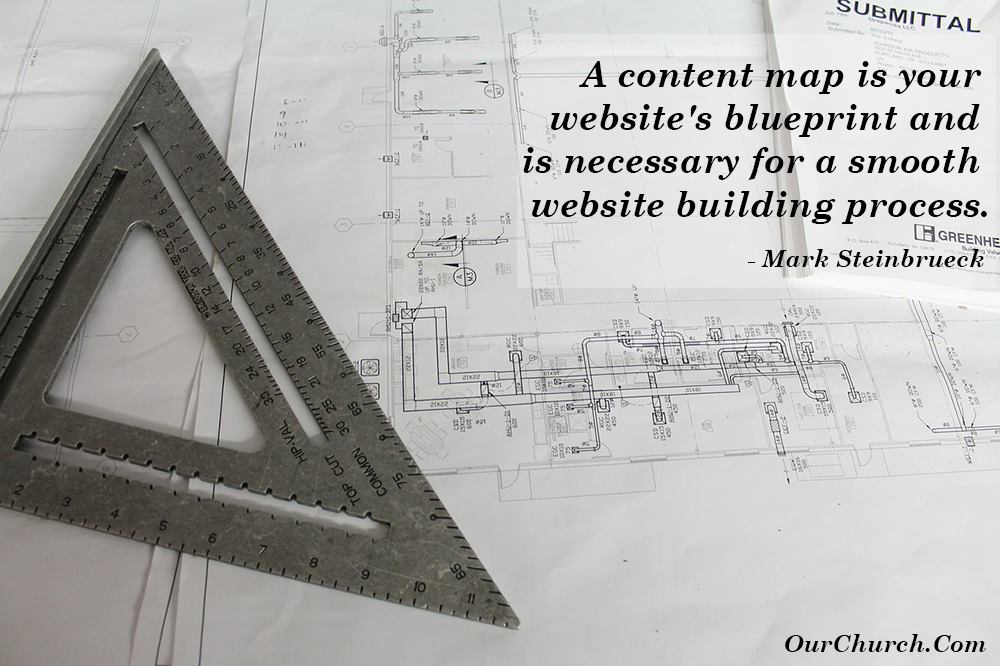
Step 3: Create a Content Map
A Content Map is a spreadsheet that defines where all of the content and functionality of your website will be. It defines what will be in the header, footer, and any sidebars, and what will be on each page of the website. It also defines the how all of the pages will be organized in the menu.
Creating a content map provides 4 important benefits:
- Better Theme Selection. Defining the homepage content and functionality before you search for or design a theme, helps to clarify your theme requirements and makes finding or designing a theme easier.
- Better Menu Organization. Listing all the pages that will be in a website and organizing them into sub-menus early in the design process, leads to a better organized website in which people are more likely to find what they’re looking for.
- Faster Development. Listing all the content for the website up front will dramatically speed up the content creation phase of the project. People can start writing text and taking photos right away.
- Intentional SEO. Listing all the content up front, ensures that content beneficial SEO like resources and life-changing content don’t get left out of the menu or forgotten entirely.
So, how does one go about creating a content map? Here are some tips.
5 Tips for Creating a Content Map
- Use an example. If you’ve never created a content map it can be difficult to visualize. So, here’s a free sample content map you can reference.
- Take a team approach. Since your content map will list all of your website content, it’s important to get input from the senior pastor, ministry team leaders, and your communications team.
- Let your goals guide you. In step 1, we identify the purpose of the website. This goal (or goals) should guide the content placed on the homepage and the organization of pages in the menu. If the main purpose of your website is to connect with the people in your community who are searching for God or a church, then the first thing people should see on your homepage is something designed to accomplish that.
- Limit your main menu. Limit the number of items in your primary navigation menu to a maximum of 7. Five is even better.
- Get feedback and revise. Once you have a draft of the content map, get feedback on it. Be warned that ministry leaders often want their ministry’s content featured more prominently (e.g. mentioned on the homepage instead of an inside page or in a main menu link instead of in a sub-menu.) Don’t be surprised if two people give you the exact opposite feedback. Don’t expect to make everyone happy. As you make revisions, save each version with a new filename so you can reference or revert back to a previous version if necessary.
What if I already built my site without a content map?
Don’t let that stop you from creating a content map now. Create a content map as if you were going to build a new website for your organization. Then compare the content map to your existing site.
You may discover they are very similar – with a few tweaks to the content or menu you can give your website visitors a better experience.
Or you may discover, your website’s content and menu organization are confusing or don’t aligned with your goals. Some major improvements or additions may be needed, and you can put together a plan to make those changes to give your visitors a better experience and accomplish your goals.
The bottom line…
A content map is your website’s blueprint and is necessary for a smooth website building process. –Mark Steinbrueck
Step 4: Select a Theme
Once you have created your logo and content map, the next step is to determine the design of your church website.
Custom Design or Pre-Made Theme
In the past, a church would first need to decide if they wanted to have a custom theme (aka template) created for their website or if they would prefer to purchase an existing theme from a theme developer.
On the one hand, a custom theme would give them complete control over all aspects of the design of their church site. It would mean that their design would be completely unique. But, the downside is that creating a custom theme adds significant cost and time to the website building process, because it involves a graphic designer and a website developer (cha-ching!).
On the other hand, using a pre-made theme saves time and money, but the downside was limitations to the design quality and features.
In recent years, however, the quality, features, and flexibility built into pre-made themes have improved dramatically. In fact, themes available for purchase have become so good, we no longer offer the option to create a custom theme from scratch.
Church Website Design Options
When selecting a church website design, we start by asking the client some specific questions about design options and providing examples of each feature. This gives the client the ability to see what each feature looks like on a working website.
Some of the theme options to consider include:
- Where will your logo be displayed?
- What type of menu would you like?
- Will the menu be “sticky” and visible as visitors scroll down or not?
- Will there be a “hero” image, image slider or video at the top of your homepage?
- Will the content fill the full width of the browser or will there be margins?
Once you have had these design decisions, it is time to find a few themes that have all of the desired design features. There are quite a few companies that create WordPress themes, but we primarily use these 3 WordPress theme developers:
I will warn you in advance, the process of sifting through hundreds of themes/design options can be very time consuming, exhausting, and overwhelming.
One of the great benefits that comes with OurChurch.Com’s custom website packages is that we do all of that work for you. After discussing the design features with you, we find the designs that meet your criteria, and review them with your. All you need to do is choose.
Doesn’t get any easier than that!
Design is not just what it looks like and feels like. Design is how it works. – Steve Jobs
Step 5: Select & Install Plugins
We build all of our custom-designed business, ministry and church websites using WordPress.
WordPress is open source software, so there’s no cost for the core software itself. It’s estimated that 43% of all websites use WordPress. Because it’s so popular, there are lots of themes and plugins available – some for free, some for a fee.
At this point in the process, we install and configure WordPress. Then install the theme selected in Step 4. Because WordPress already has its Famous 5-minute Installation instructions online and because the configuration process is more detailed and personalized than we want to get into here, I’m going to move on to the next step
Select & Install Plugins
There are more than 60,000 WordPress plugins that provide almost every imaginable function – calendars, newsletters, online forms, event registration, photo galleries, SEO, just to name a few. For each of these functions there may be dozens of different plugins to choose from.
So, how do you choose which plugins to use?
1) Make a list of the features you would like on your website.
Talk with the staff and ministry team leaders about the features or functionality they think should be on the website. When you talk with people, try to get a sense for how important they think each feature is. Let them know you’re just getting ideas at this point, and not every idea will be implemented in the final design of your church website.
2) Whittle down the features list
Even though many WordPress plugins are free, there are other “costs” to consider.
Everything you add to your website has to be managed and maintained. For example, most churches say they want audio or video of sermons on their website. But someone has to record, edit, and publish the sermon consistently every week. If no one is committed to doing this, then it’s better not to find, install, and setup the plugin and end up with an empty sermons section/page.
Another cost that comes with each plugin is the divided attention it produces. Everyone has a limited amount of time and attention. Each feature you add to your website, reduces the time and attention the other features will get. Therefore, before you choose to move forward with a feature, when designing your church website, ask yourself if it is important enough to sacrifice time and attention from the other features.
3) Evaluate available plugins
The WordPress website has a very useful plugin search feature. Type in the feature you’re looking for, and then review the available plugins. When we evaluate plugins we look for:
- Tested in the latest version of WordPress. If a plugin hasn’t been tested with the latest version, it could be an indication that the developer(s) are no longer active.
- Active support. Every plugin has a “Support” tab. Check to see if the developer(s) have responded to recent in inquiries. Check to be sure there aren’t a bunch of unresolved issues. If the developer hasn’t responded for several weeks and there are a lot of unresolved issues, it’s probably not a good idea to use the plugin.
- Updated recently. We prefer plugins that have been updated within the last 3 months, however if a plugin has been updated within the last 8 months and it has good ratings and active support responses, we consider it.
- Good ratings. We like to see at least 4 out of 5 stars
- Active installations. Some plugins have millions of active installations others have less than 10. There’s no rule of thumb for how many active installations is enough, but it can be helpful when comparing plugins that provide the same feature to see which is most popular.
- Features. Every plugin includes a list of features. Sometimes we’ll choose a less popular or slightly lower rated plugin if it has some features another similar competing plugin doesn’t have.
- Price. While a lot of plugins are free, some have to be purchased. Some may have a free and a “pro” version. Some high-end plugins may require a maintenance subscription.
If all of this seems like a lot of work to do for each and every feature you add to your website, well… it is. Depending on how many features/plugins you want to add to your website it could take 2-20 hours when designing a church website.
This is why one of the biggest benefits of hiring a professional church website developer like OurChurch.Com is we have already researched the features churches want, and found good, stable plugins for each, saving lots of time and headaches.
Similarly, using a DIY church website builder like our WP-EZ Website Builder also saves tons of time by eliminating this step.
What separates design from art is that design is meant to be… functional. -Cameron Moll
Step 6: Create and Enter Content
Unfortunately, this is the phase of website development where things tend to get bogged down. Some churches take months or even years to put text, images and other content into their website.
5 Tips to Speed up the Content Phase when Designing a Church Website:
1) Use your content map.
We discussed what a content map is, why it’s so important, and how to create one in step 3. A content map is like a blueprint for your website. If you don’t have one, you’re going to get lost in the weeds during the content phases. So, if you skipped this step earlier, do it now!
Going back to the blueprint analogy, if you created a blueprint for a building, you wouldn’t just throw it in a drawer and start building from memory. You also wouldn’t use it for “inspiration” and then build “freestyle.” You would build exactly what is drawn up in the blueprint.
Therefore, once you have your content map, refer to it frequently throughout the content creation phase as you design your church website.
2) List content to reuse and to create.
If you already have a website for your church and you’re going through the process of creating a new one, you probably have content on your old website you can reuse. Go through your content map. For each piece of content, decide whether you can reuse something from the old site or want to create something new.
Create a “Reuse” list and a “Create” list. Don’t forget about photos and video. You’ll probably want to take some new photos and shoot some new video for your new site, but not everything has to be new.
3) Consider a website transfer service.
If you’re planning to reuse a lot of your existing content, consider hiring someone or purchasing a website transfer service like OurChurch.Com offers. It can significantly reduce the amount of time you spend designing your church website.
4) Delegate.
Just because you’re overseeing the church website development doesn’t mean you have to create all the content.
Try to add a photographer and/or a videographer to your team. Perhaps there is someone else who can write the copy for your pages. Teams are always better than flying solo. Just make sure expectations are clear, deadlines are given, and people have proper training and oversight.
5) Interview ministry leaders.
Sometimes people take the delegation thing a little too far and ask every ministry team leader to write all the copy for their ministry’s pages. I recommend against this because, in my decades of designing church websites, I’ve found that often ministry team leaders will miss deadlines, and you’ll end up with totally different writing styles on each page.
A better option is to have one person write all the content but to interview each ministry team leader for the information they need. By interview, I mean talk with them in person or by phone and write down all the info needed.
Bonus Tip: Don’t wait until after your theme is selected and plugins are all researched and installed to start creating your content. You can start on this immediately after your content map is created.
While it is important to get your content done in a timely manner, keep in mind your content has a big impact on whether the people who find your church website decide to visit your church in person, so don’t rush it: Proof read. Edit. Make it good.
SEO Impact of Website Content
And speaking of finding your church website, the content of your website has a big impact on search rankings and church SEO. Therefore, try to include keywords – your city, nearby cities, denomination, ministries people might search for – in your content wherever possible.
There’s no better way to improve search rankings than creating great content, and there are no shortcuts to great content. -Paul Steinbrueck

Step 7: Take & Insert Photos
The decision of which photos to use on a church website usually goes something like this…
“Let’s just use some stock photos we see online” or “I think the Sara (the youth pastor) has some pics from the church picnic and building dedication that she posted to Facebook. We can use some of those.”
Most of the time, there isn’t much thought given to what images will be used on the church website.
While the text that explains your mission, beliefs, and programs are an important part of the website, it’s the photos that make the first impression when someone visits to your website and give visitors a glimpse into who you really are.
Great Photos are a Crucial Part of designing a great church website.
Because your website images are so important, in this article we’re sharing with you…
8 crucial tips to ensure you have great photos on your website:
1) Never copy an image that you find online. This includes going to Google and searching for an image and copying the image from the results. Those images are most likely copyrighted and using them is stealing. If you use them, you could find yourself on the wrong side of a lawsuit 🙁
2) Use real photos whenever possible. It is very tempting to resort to using stock photos – many are free, they are good quality, and they have great looking people in them. However, most people can spot a stock photo from a mile away. In addition to looking “fake,” the stock images you choose could also be used on a dentist’s website, an ad for a local gym, or worse.
Stock images are okay on pages about generally topics (like this blog article). However, for pages where you’re describing your church, ministry or business, using real photos of real people is more personal and shows authenticity.
3) Take your time taking photos. Blurry images are impossible to correct (although AI may be changing that), so make sure the subjects of your photos are in focus. Make sure the lighting is good. Also, unless the image is supposed to be a candid, look closely to make sure everyone is facing the camera and their eyes are open.
4) It is not a sin to use Photoshop. Sometimes photos benefit from minor editing, for example if its too dark, the shot is too wide, or there’s something distracting in the background. We’re not talking about making the pastor’s biceps look like the Hulk or the 80 yr old grandma look like a 21 college student. Just minor touch-ups.
5) Don’t email or text photos. Text and email services often compress images to reduce file sizes and data usage. This compression can reduce the resolution and quality of the images. When sharing images, use Google Drive or Dropbox.
6) Crop the image to fit the space on the web page. All to often I will see different sized images in an image rotator or a portrait-shaped image used at the top of a webpage when a landscape shaped image should have been used. Once you have the correct format (landscape/portrait), crop the image to the correct dimensions. If you are not sure what dimensions should be used, contact your website provider. If you don’t have software to edit your images, you can use Pixlr X which is free.
7) Optimize your images for your website. Though you don’t want your email provider to reduce the image file of your images, you don’t want to the images to be so large that they slow down your website. Use software like Pixlr X or the WordPress plugin, Smush to optimize the image for your website. OurChurch.Com includes Smush with all of its websites.
8) Set a reminder in your calendar to take new pictures every 6 months. If you are not taking pictures for the website every week, it is important to set a reminder in your calendar to get new pictures every 6 months. Doing this will keep the images from getting old and allow you to get rid of pictures of people who are no longer at the church.
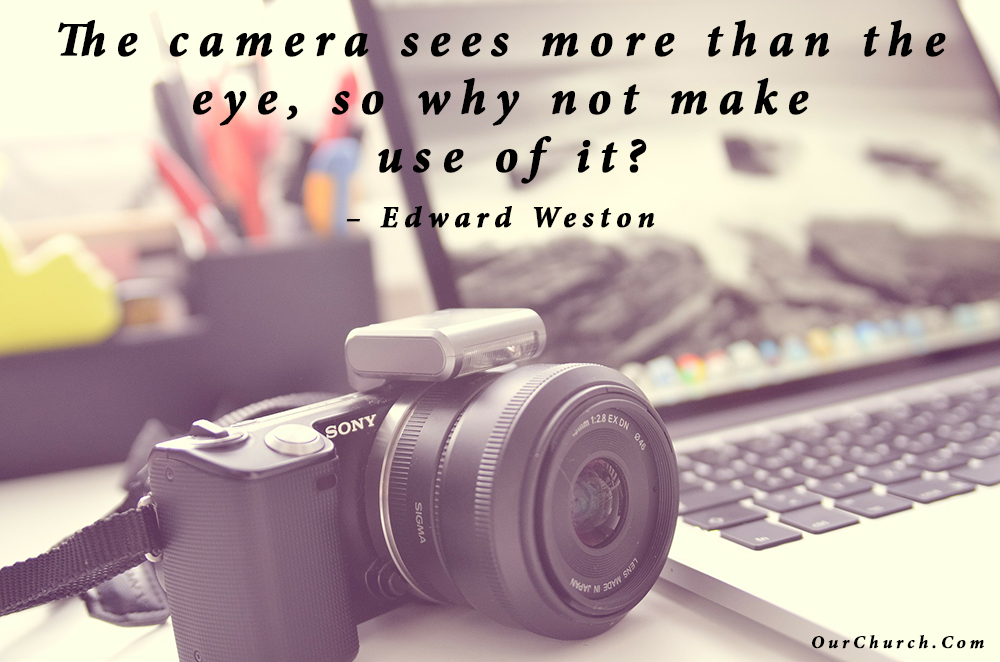
The camera sees more than the eye, so why not make use of it? – Edward Weston
Step 8: On-Page Optimization for Search (SEO)
Another step that is often overlooked by churches and other website developers: search engine optimization (SEO).
Typically, a couple months after a church launches their new website, they notice that they can’t find it in search engines. That’s when they realize it needs to be optimized for search engines.
By the time they optimize their site, they have missed out hundreds of people searching for a church in their area.
For this reason, we recommend optimizing the pages of your church website BEFORE it launches.
5 Church SEO Tips for Optimizing Your Church Web Pages
1) Address – Display the full address where your church gathers in the header or footer of your website so it appears on every page.
2) Cities – Mention in the text your homepage the city in which your church meets AND also nearby cities where your people live. This will help your search rankings when people search for “church in [your city]” and “[nearby city] churches.”
3) Title tag – Each page of a website has a title tag which is not visible to visitors but is very important to search engines. Most search engines use the title tag as the main heading for your search listings. Try to include the 3 cities you most want to target in each page’s title tag.
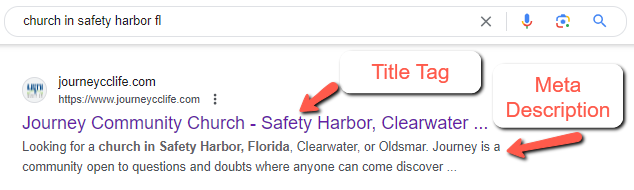
4) Meta description tag – The meta description tag is another element that is not visible to human visitors but important to search engines. Search engines show the meta description tag in the search listing below the title tag. In the description tag, include the 3 cities you most want to reach, plus your denomination or association (if your church is a part of one), as well as ministries and other terms people in your community might be looking for.
5) Images – Optimize the images on your website by including cities and descriptive terms in the filename and the “alt” attribute.
There are many of other things that go into church SEO like setting up local/maps search listings (e.g. Google Business Profile), getting online reviews, link building, and monitoring search rankings that can be done after the website is launched, but the optimization of the web pages themselves should be done as part of the design of your church website, before the launch.
If you hire a church website design firm to build your website, they are often reluctant to give you or a church SEO agency access to your website before launch. Therefore, it usually works best to hire one company that is competent and experienced with both design and SEO. (Know anyone like that? 😉 )
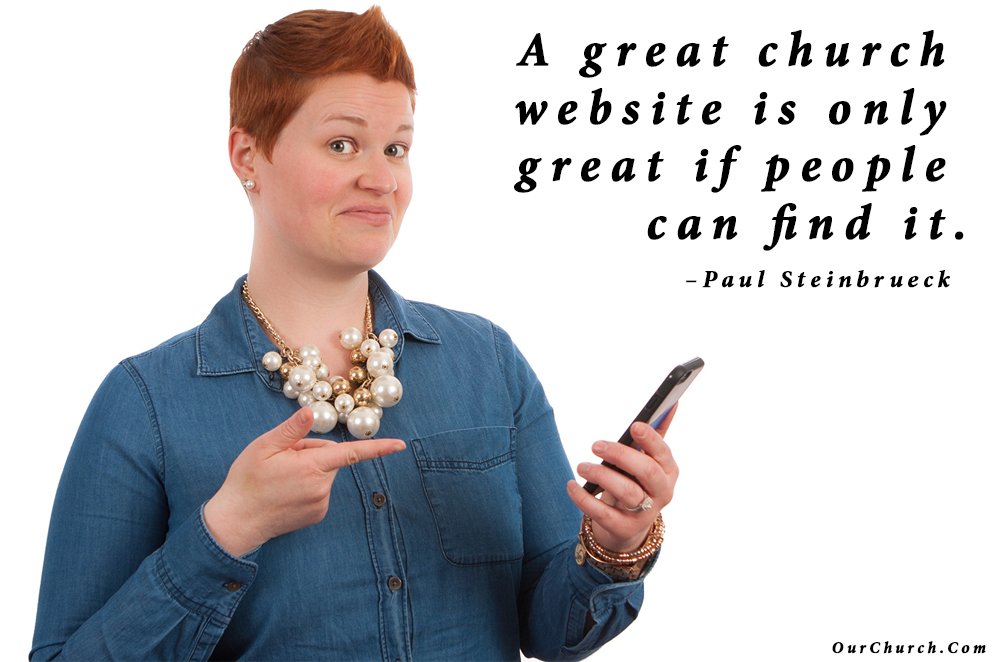
A great church website is only great if people can find it. –Paul Steinbrueck
Step 9: Launch
There are 3 things that need to be done to ensure the launch of your newly designed church website goes smoothly. The first two are only applicable if you had a previous website:
1) Implement Redirects from your old site to your new site
This is something that most people aren’t aware of and even many web developers overlook.
Redirects (specifically 301 redirects) perform two primary functions:
- A) Tell the search engines to apply the authority and search rankings earned by your old web pages to the new versions of those pages on your new website.
- B) Redirect any person who tries to visit to a page of your old website to the new version of that page on your new website.
If you don’t implement redirects, you will lose all the search rankings gained by all your web pages (except your homepage) of your old website. And if anyone has bookmarked or “saved to favorites” any of those pages of your old website, they will get a “Page not found” error when trying to access those old pages.
Creating 301 redirects usually involves coding, so I suggest having an experienced website developer do this for you.
2) Perform a Domain Name transfer
If your new website will be hosted with a different company than your existing website, you will need to change the DNS settings, so your domain name points to your new site. If your new web hosting company also provides domain registration, you may want to transfer the domain name to be managed by your new hosting company so that all of your website services are managed by one company.
If you transfer your domain name to your new hosting company, they should walk you through the process. It can take days or weeks to transfer a domain because there is a verification process. Therefore, if you want to have your domain name ready for your new site when the new site is complete, start the domain name transfer process 2 weeks prior to the scheduled launch of the your new website.
3) Install a SSL certificate
A SSL certificate will encrypt all the information being sent to and from your website. This also helps prevent someone from being able to steal the username and password you use when logging into your site. For all the reasons and steps of installing a SSL certificate, please read our article here.
If you fail to plan, you are planning to fail! ― Ben Franklin

Step 10: Create an Update Plan
There are 3 categories of updates to include in your plan:
1. Software Updates.
If you (or your developer) builds your website using WordPress, the WordPress core, plugins and theme all need to be updated regularly. If this isn’t done, your website could get hacked.
Usually, it’s fairly easy to check for updates and make updates to the WordPress core and plugins. Login to the WordPress admin, and look in the top left corner for “Updates.” If there are updates available, you can usually install them with 2 clicks. We recommend doing this once a week.
Unfortunately, the “Updates” feature of the WordPress admin usually won’t tell you if your theme has an update, and it definitely won’t tell you if a plugin has been abandoned by its developer. Therefore, we recommend setting a quarterly calendar reminder to review your plugins and theme.
By the way, if you go with OurChurch.Com’s church website design service or build your website with our WP-EZ church website builder, we take care of all of these updates for you.
2. Content Updates
Some content like news and calendars need to be updated regularly. How often depends on the type of content, but we recommend most churches update their content once a week.
Other content may change infrequently, but should be reviewed quarterly or at least annually to make sure its still accurate. This includes content like your staff page, the list of active ministries, active small groups and bible studies. Your newly designed church website can quickly look like an old website when you don’t update it.
3. Content Additions
If you want to improve your search rankings and keep visitors coming back to your website, one of the best ways to accomplish this is by regularly publishing valuable content to your website. The most common types of church website content are sermons (audio, video, notes or transcripts), newsletters, and blog posts. Sermons and newsletters are usually published weekly. Blog posts can be published weekly or even 2 or 3 times a week.
Consistency is extremely important when it comes to publishing content. Therefore, it’s important to create a content plan/schedule that is sustainable.
If content additions like sermons and blog posts are something you’d like help with, those are options with our church SEO service.
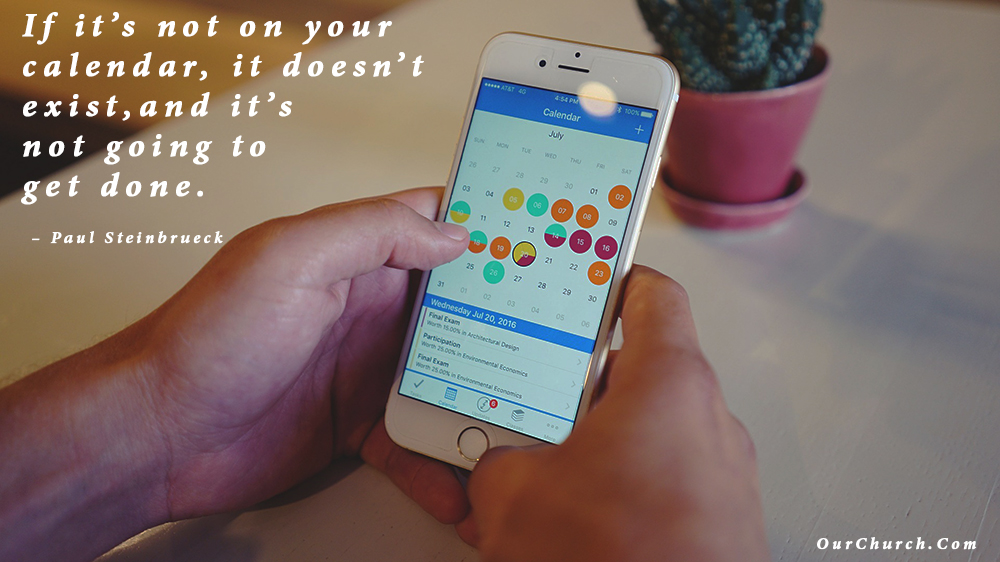
If it’s not on your calendar, it doesn’t exist, and it’s not going to get done. –Paul Steinbrueck
So, there you have it: the 10 steps or phases of our church website design process. We hope you find this helpful as you build or redesign your church website whether you do that with us, on your own, or with another website developer.
We wrap up The Ultimate Guide to Designing Church Websites with some additional church web design tips.
Church Website Design Tips from the Pros
 One of your highest objectives with your website should be to build your email list so that you can nurture the relationship with prospective visitors. Without capturing leads, you’re working hard just to have visitors “drive by” and never see them again. -Kenny Jahng, kennyjahng.com
 Keep an eye on trends, but never sacrifice usability for flash. Keep fighting for simplicity and your audience will thank you! -Matt Ehresman, courageousstorytelle
 The church website is an opportunity. It’s a chance to show what your church is all about and why people might want to come. Are you taking full advantage of that opportunity, or are you letting it slip through your fingers? -Kevin Hendricks, churchmarketingsuck
3 Comments
These tips are fabulous and you have a great sense of graphics. I have personally tried some creative web designing services and also logo designing services but this really soo helpful to understand the actual mean of designing.
I think that people should learn about how to use AI for graphic design from 2024. Honestly as a graphic designer this gets me so excited because it means that I will be able to prototype for clients much quicker and will be able to give them tangible prototypes and mockups without spending hours and hours on something only for them to switch up and change ideas last minute. AI isn’t going to ever be a replacement. Its going to be a tool just like everything else we already use as designers. Anyone who is freaking out about their job or profession disappearing probably would have said the same thing when photoshop, illustrator and publisher were released.
Hi Austin, thanks for your comment. Can you explain how using AI for graphic design enables you to create prototypes? What AI tool do you use for this?